其實有一陣子沒有用Keynote製作貼紙了,因為之前製作太多存貨了。前陣子久違的打開Keynote,發現製作方式更簡單了,只要1個鍵就搞定了。一張貼紙完成的效率超高,大概因為這無限多貼紙製作方式讓我都不再用紙本手寫筆記了,GoodNotes內建貼紙不夠用就自己來製作吧!
目錄
Goodnotes貼紙製作方式
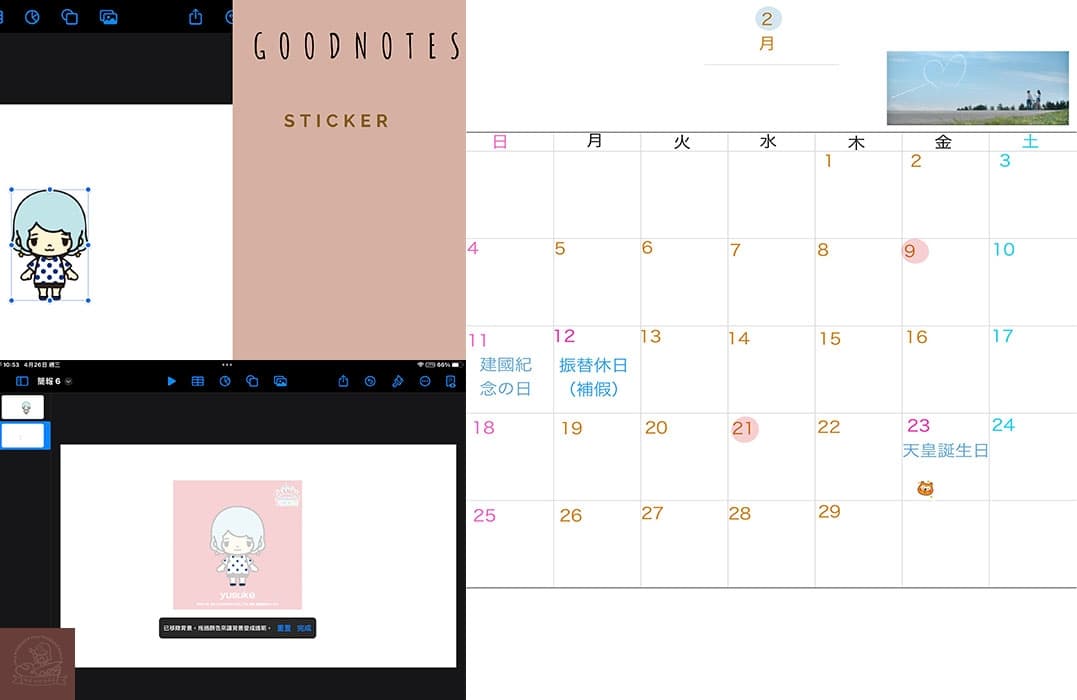
GoodNotes貼紙製作主要是靠Keynote程式的協助,一邊打開GoodNotes的App;另一邊打開Keynote程式,相互操作就可以把想要的貼紙製作好了。
打開Keynote程式
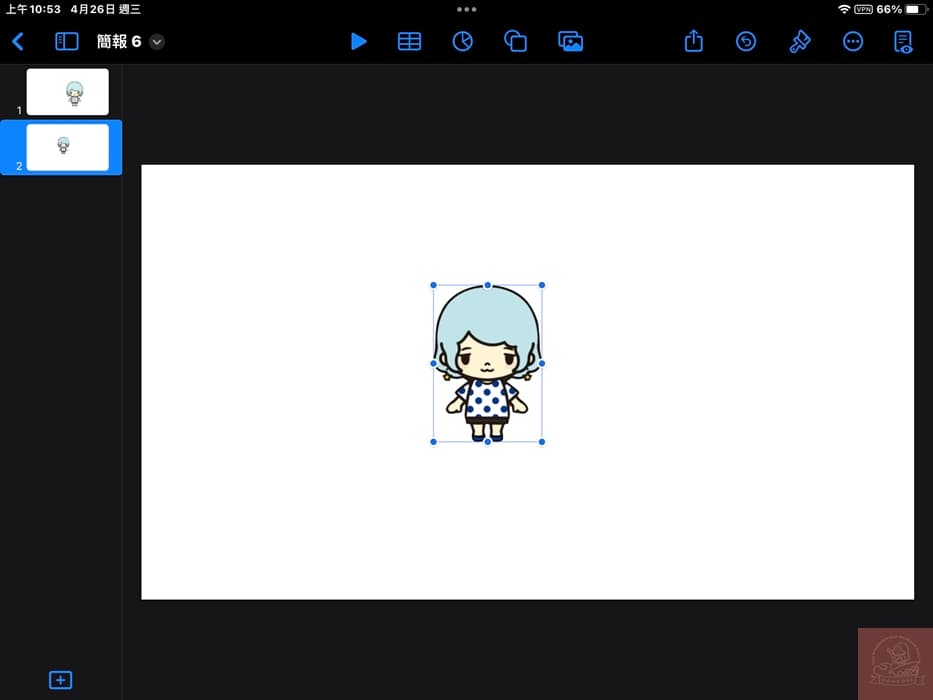
打開Keynote的程式後,點左下角的+可以新增投影片,隨便選一個版本套用。把版本頁面上的工作區塊輕點即可刪除。
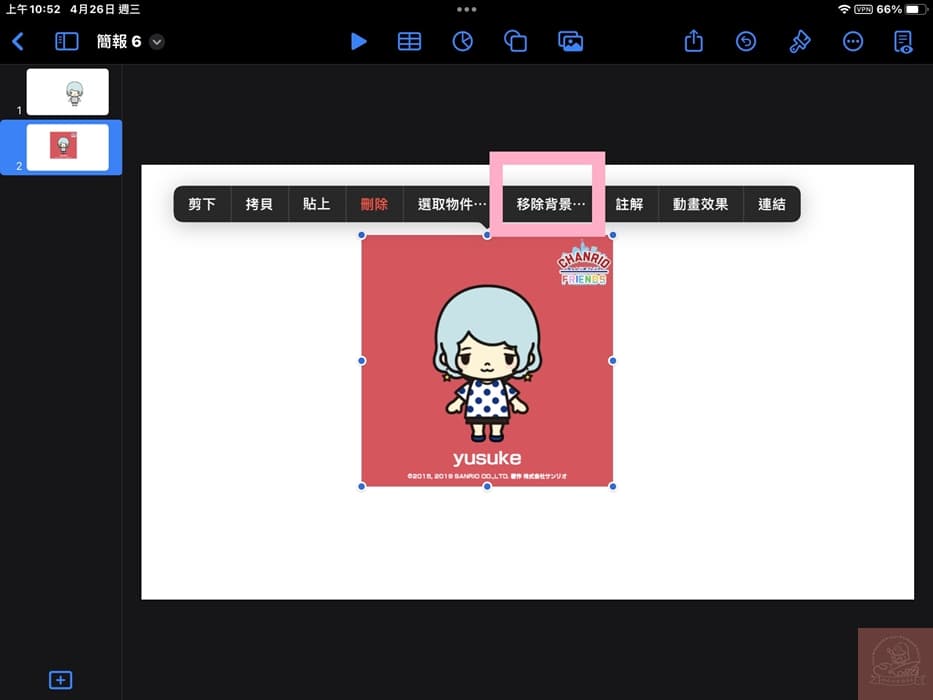
讀取想變成貼紙的圖片,圖片出現後輕點一下圖片點選移除背景。
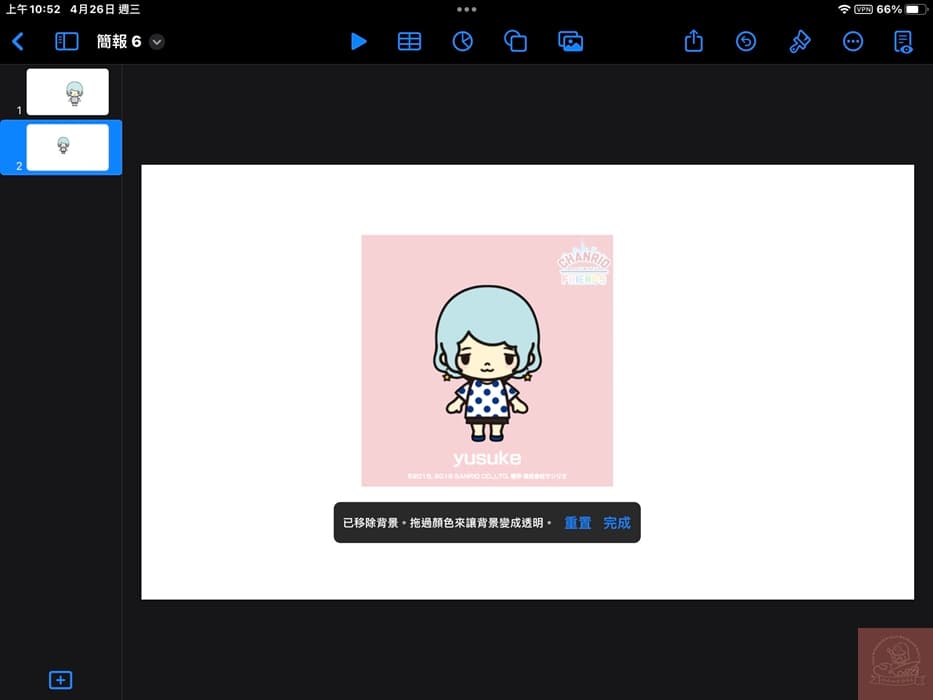
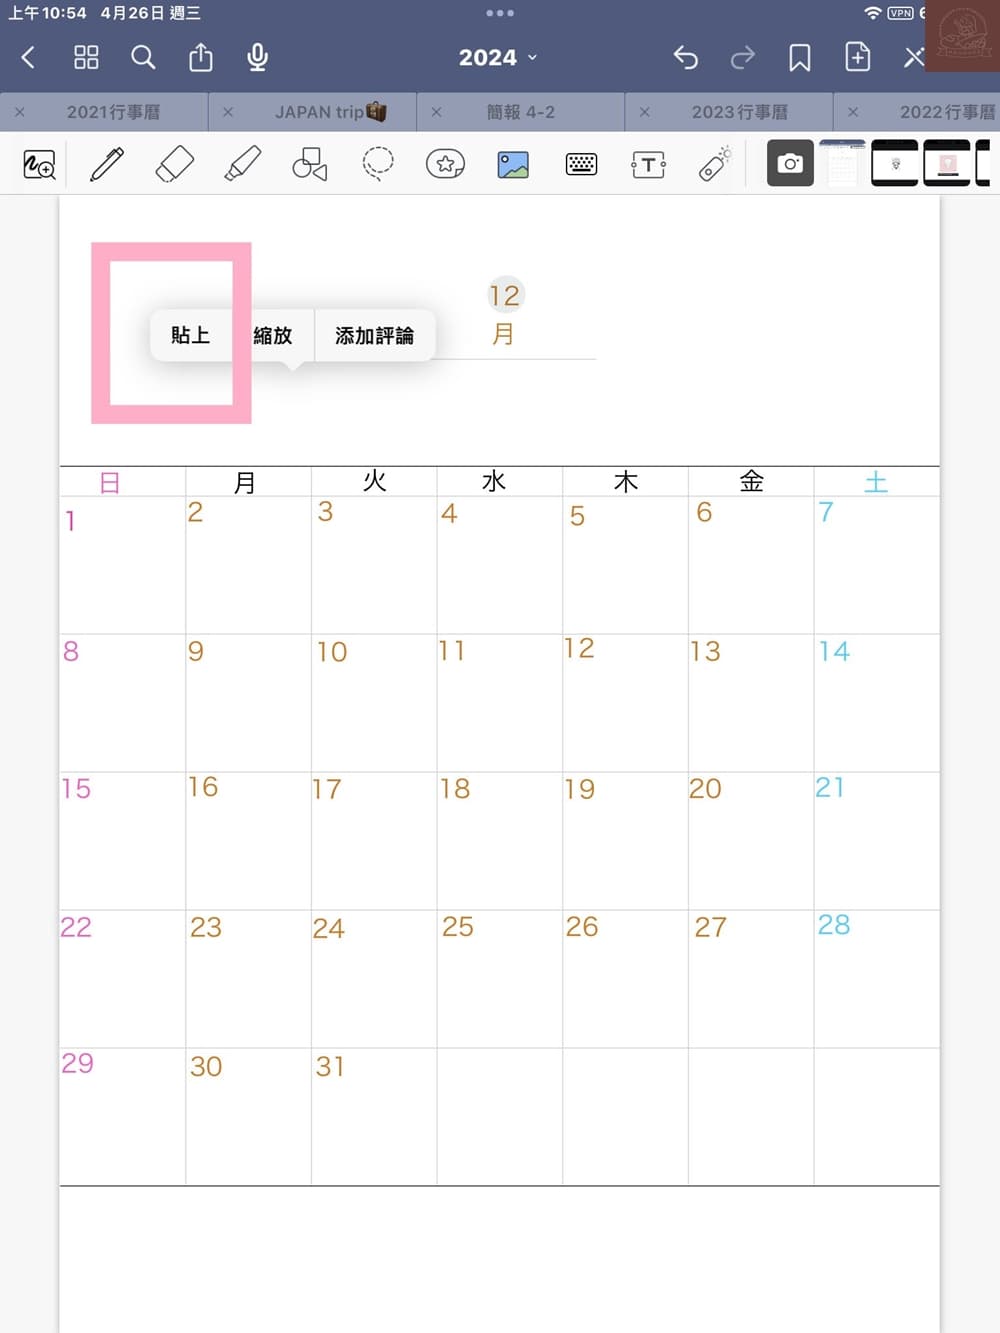
一個鍵就移除背景(去背)了。但光是這樣還不夠,接著要把背景變成透明狀。
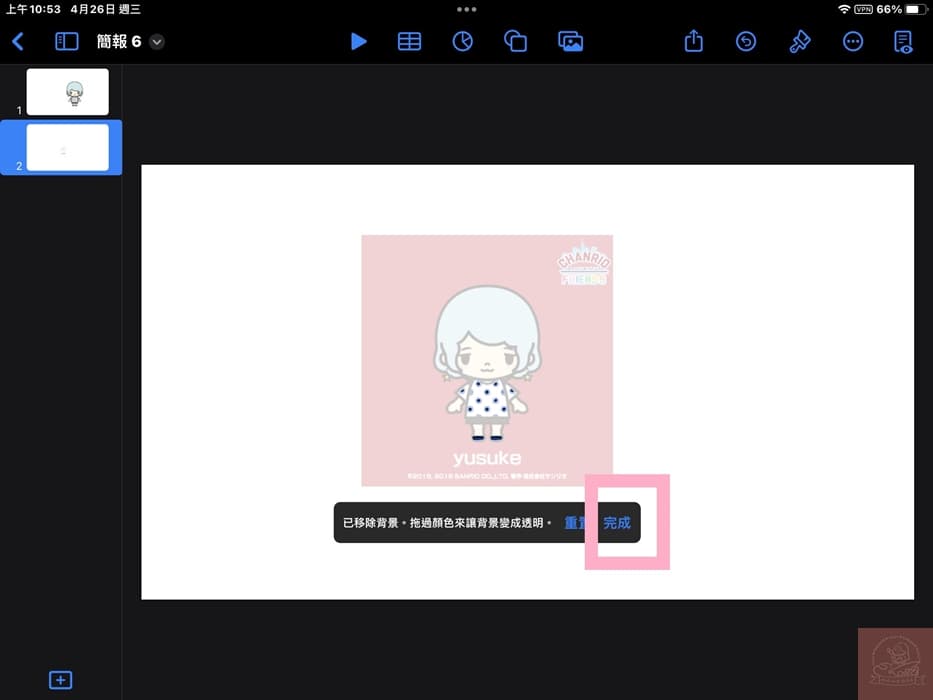
拖過顏色後的透明度如果滿意的話就點選完成。
這樣就完成在Keynote初步的去背動作了,可以再調整圖片貼紙大小。記得複製。接著準備打開GoodNotes視窗。
打開GoodNotes視窗
隨便找個空白位置或是想貼的位置貼上即可。
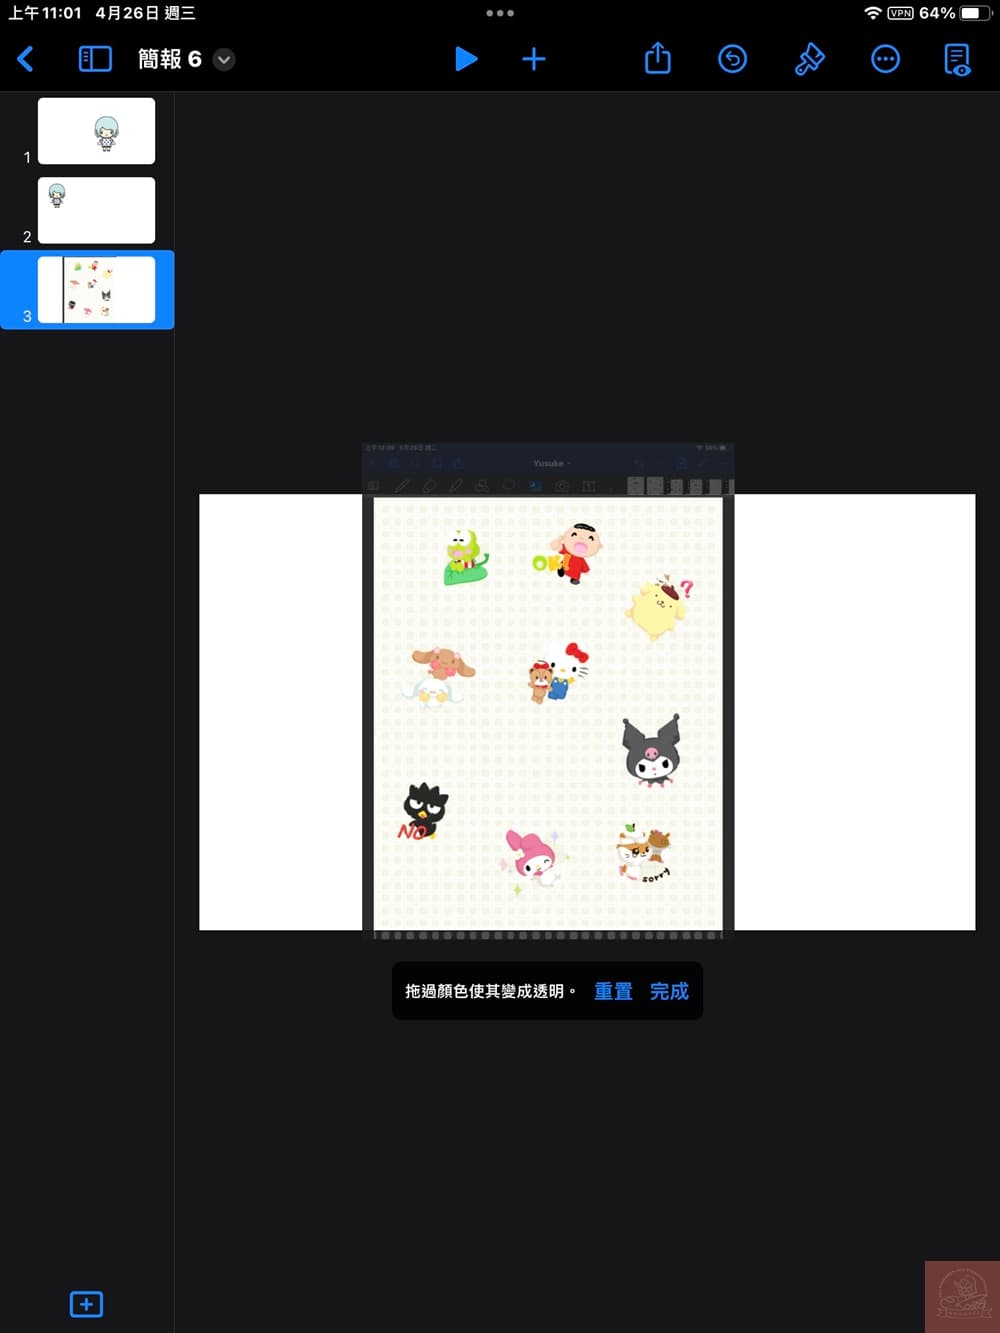
不管怎樣類型的圖片製作貼紙方式都一樣。

初始動作都是去背然後變透明。
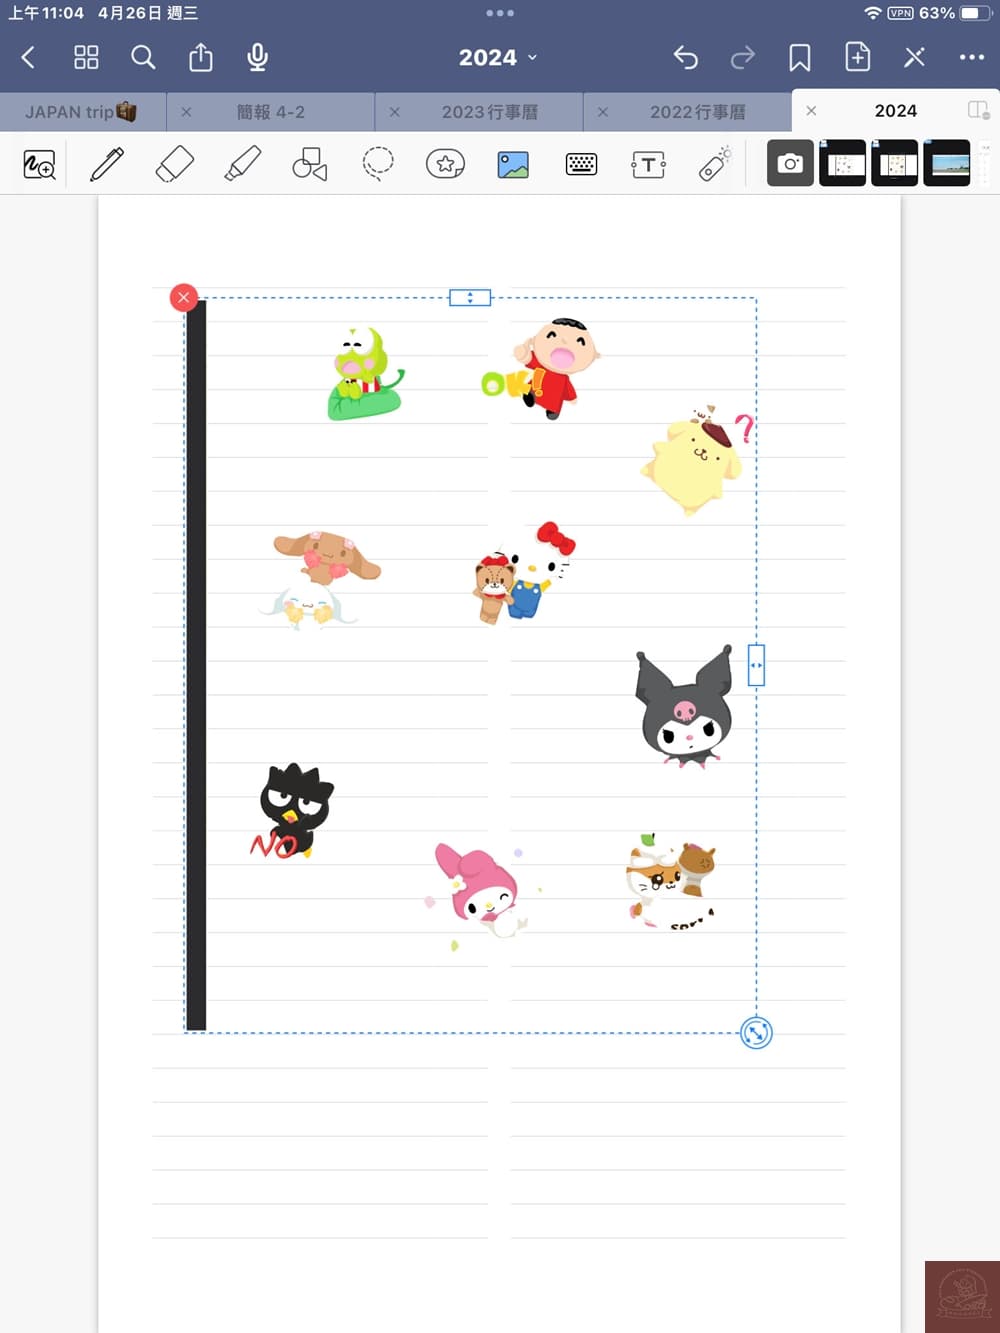
打開GoodNotes後把貼紙整張貼在筆記空白位置,你們可以新增新的頁面。在調整模式下輕點一下可以裁切。
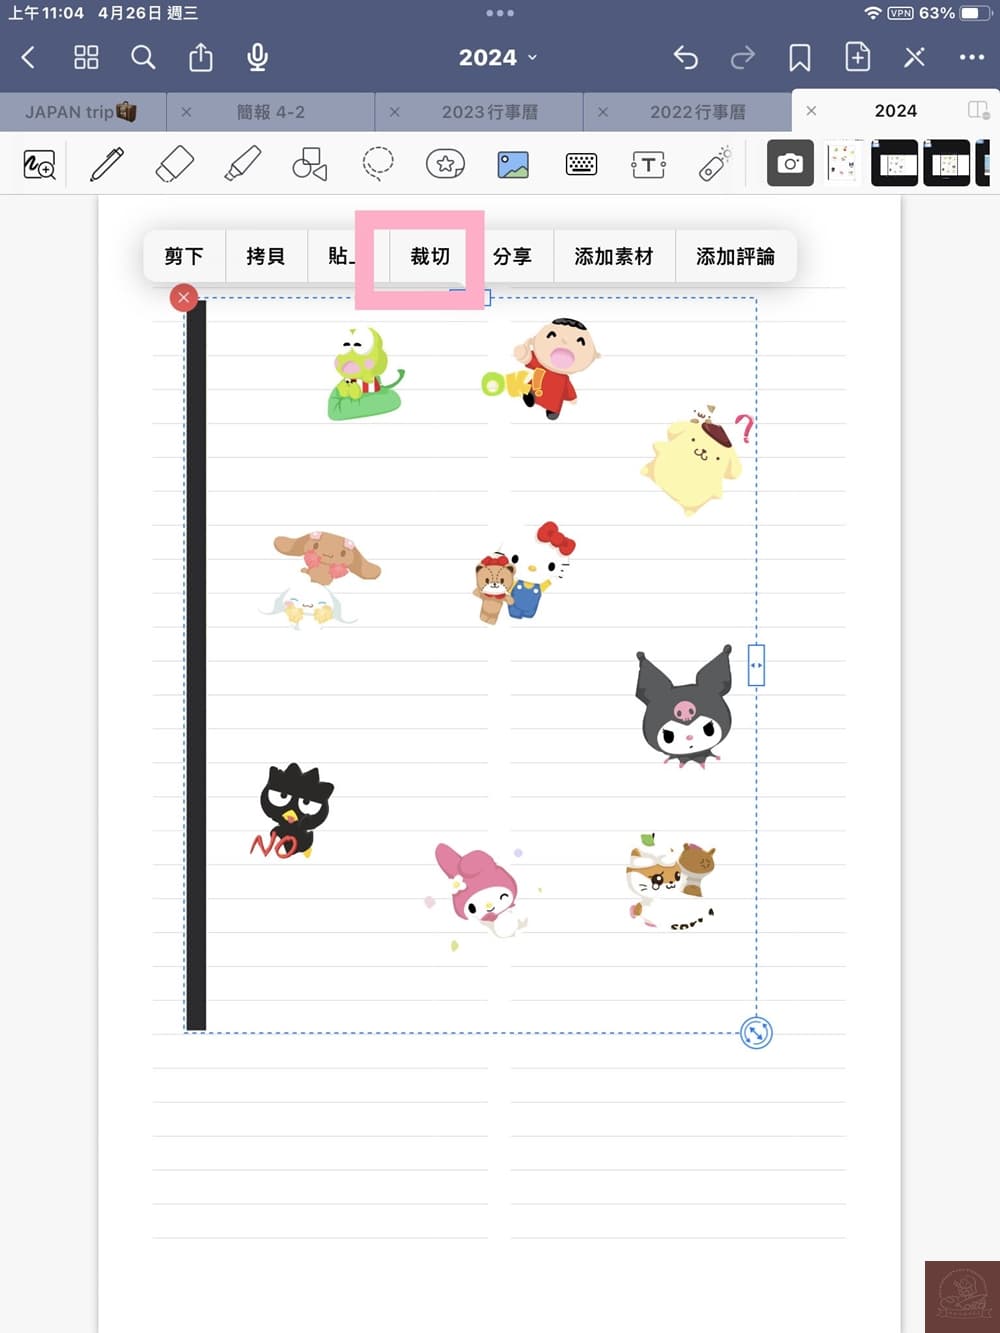
點選裁切可以裁剪想要的圖案貼紙。
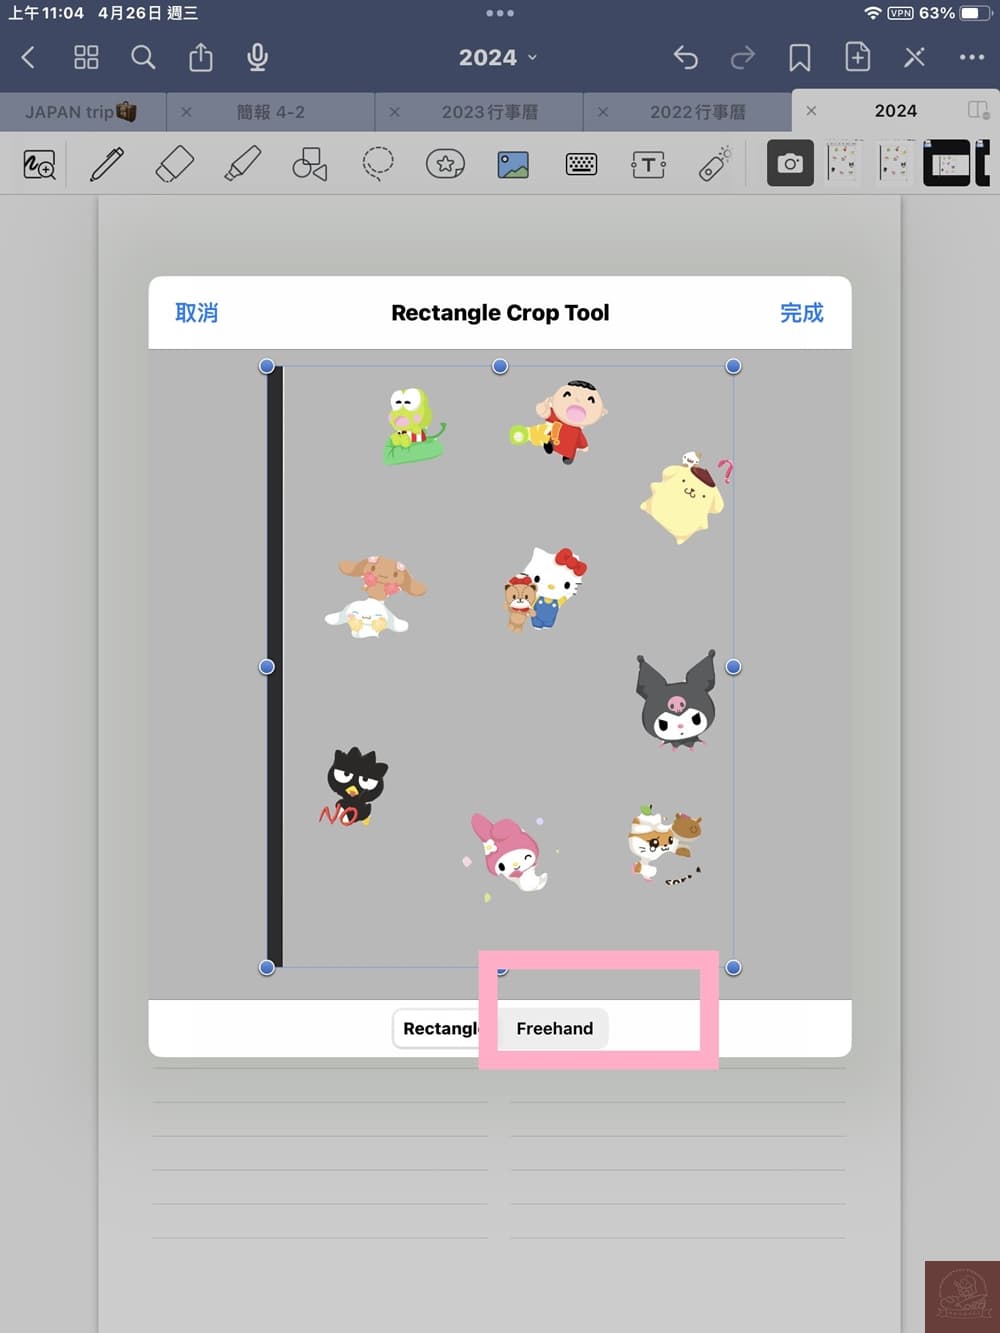
記得點選Freehand自己調整貼紙大小。
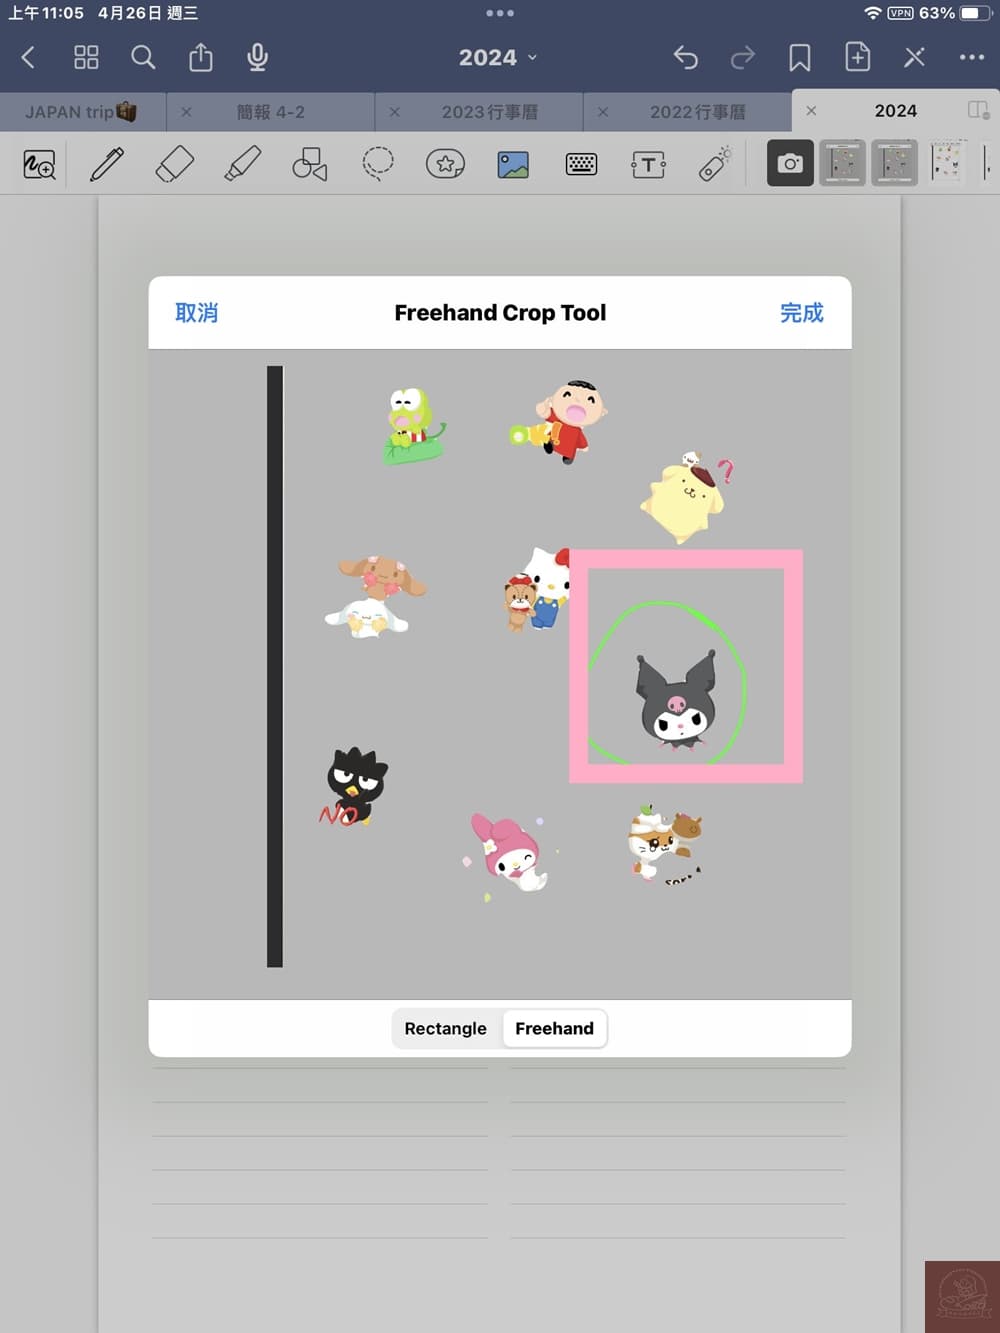
圈起想要的貼紙圖案再點選完成。
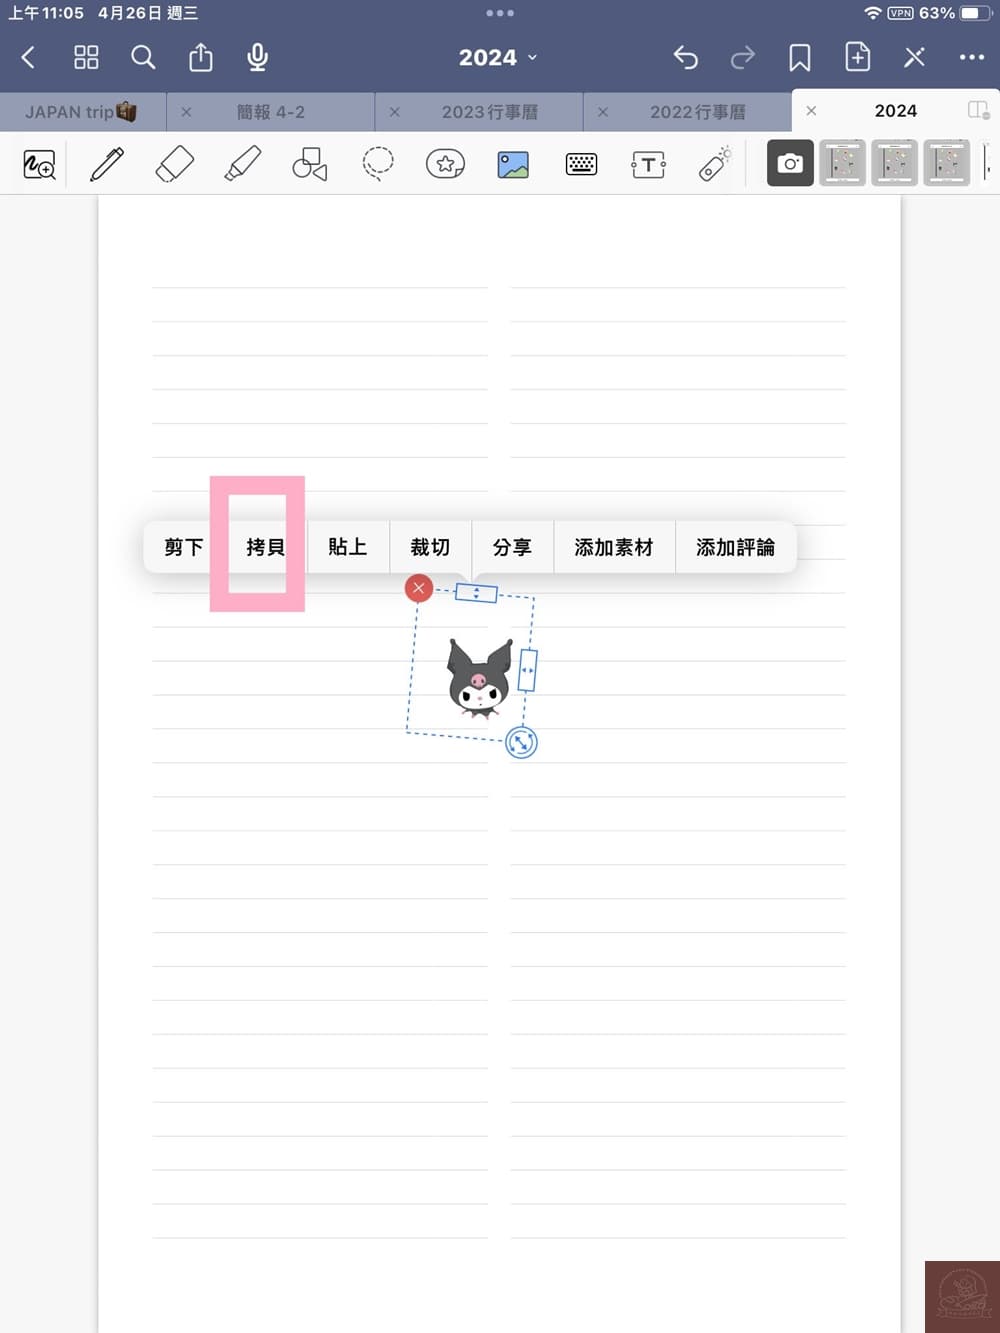
點選拷貝是複製的意思,貼到想要貼紙出現的位置吧!
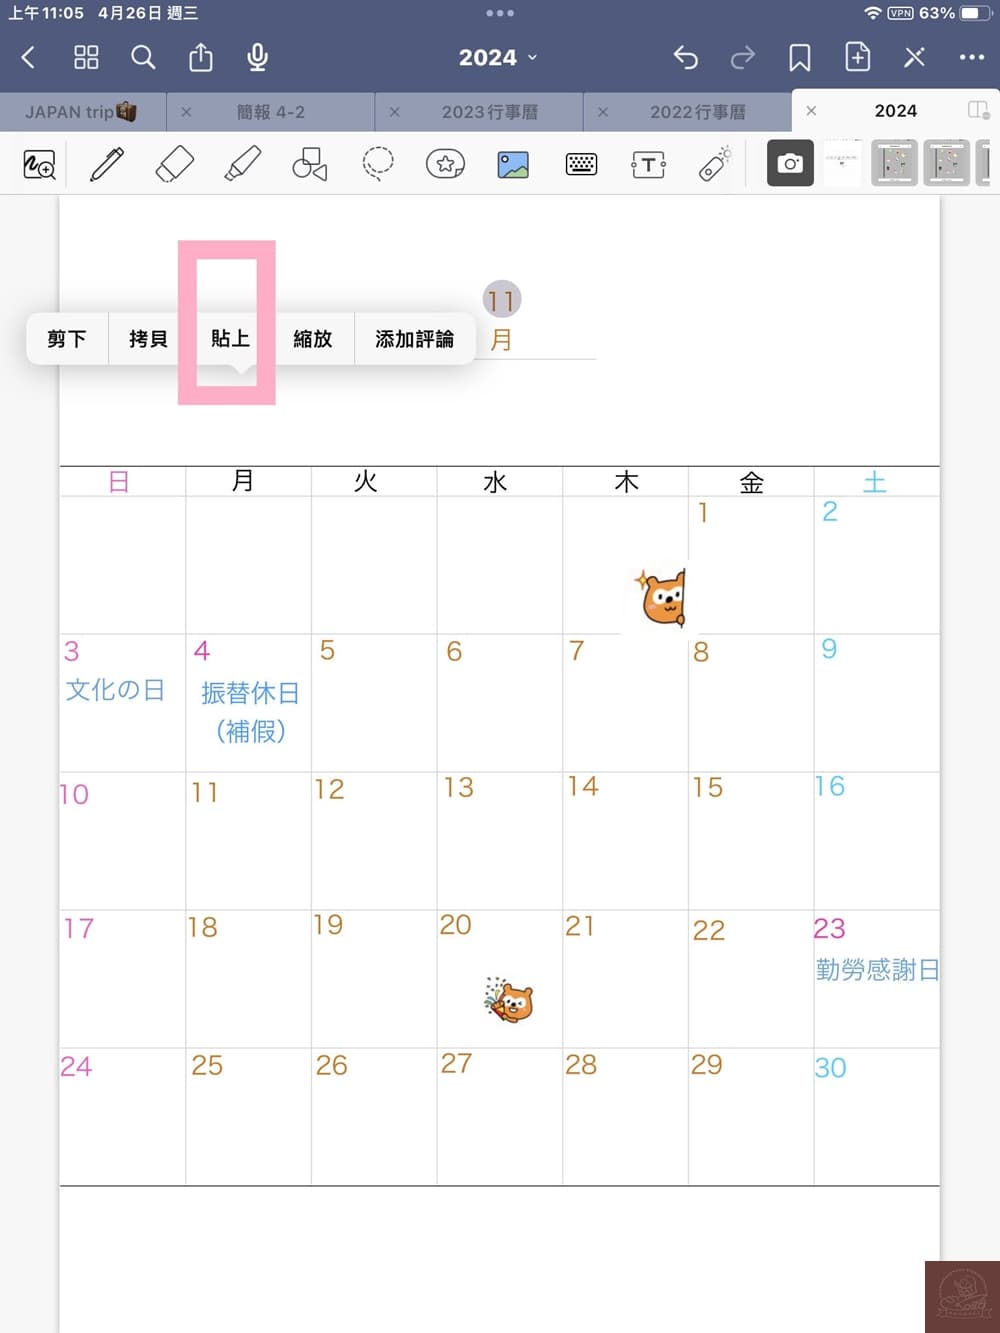
接著點選貼上再調整位置就完成了。
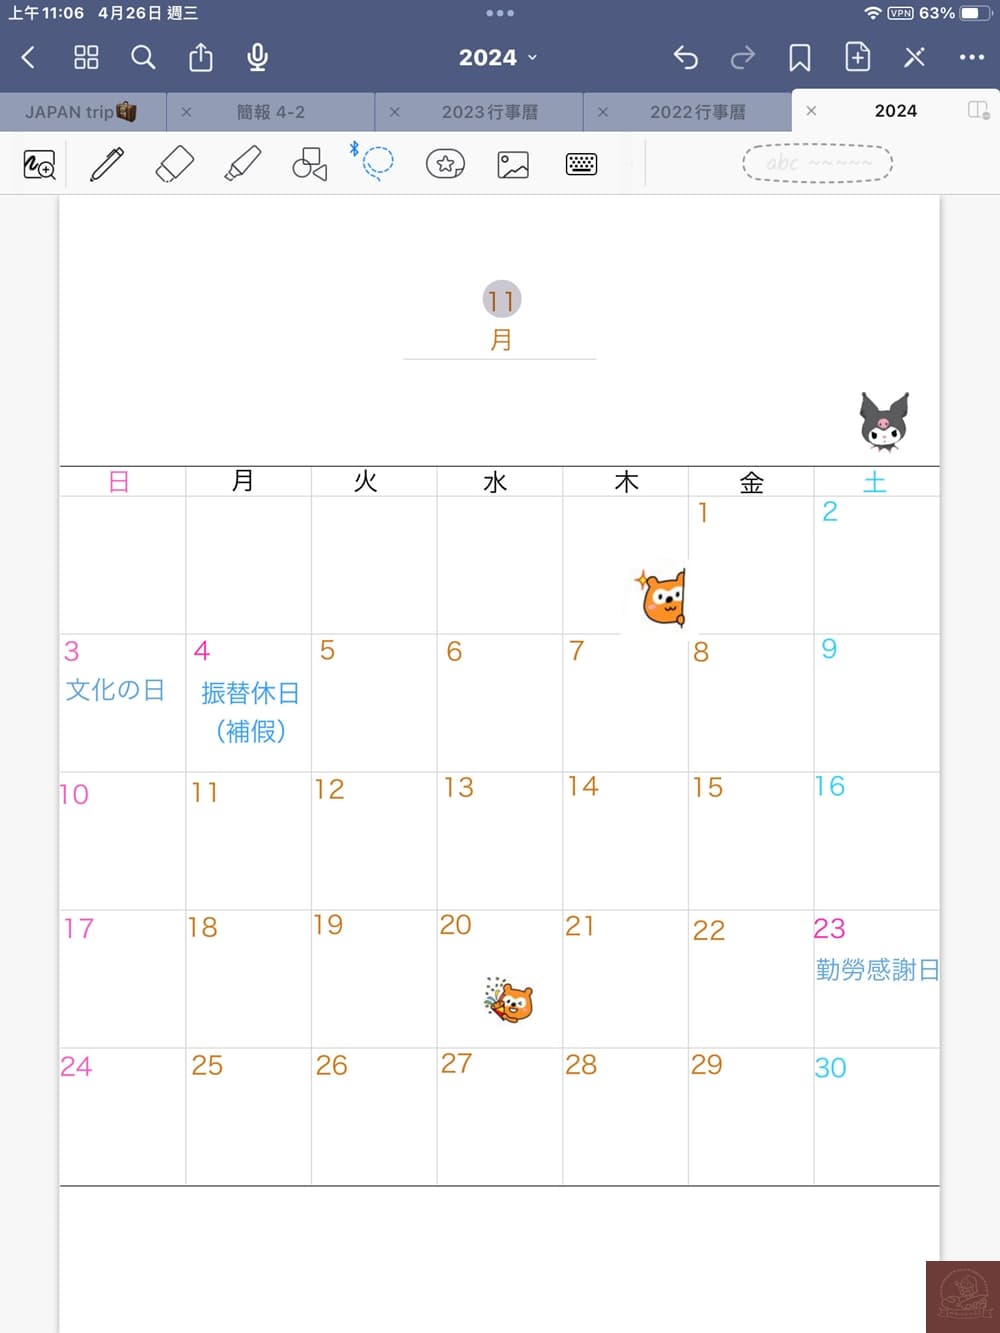
成品完成了。
成品範例真的很滿意。整體而言我是很愛這種有效率製作貼紙方式,而且比較能夠獨一無二,你們今天開始也認真妝點自己的電子筆記本吧!
別忘了我的YouTube 頻道YuSuKeの3c日常 之後也會拍攝影片教學,歡迎訂閱我唷!
Klook.com